Starting with the right setup can transform your audio experience, making every beat and note come alive through your Beats Solo 3 headphones. Wondering how to unlock this high quality sound wirelessly? Look no further. This guide is here to lead the way, detailing the steps to seamlessly connect your headphones to any Bluetooth enabled device. From initiating pairing mode to establishing connections with various devices, and even navigating through those occasional hitches, we’ve got it all covered. Let’s embark on this journey together, ensuring a smooth and enjoyable audio experience from start to finish.
KEY TAKEAWAYS
- To activate pairing mode on your Beats Solo 3, simply press and hold the power button for 5 seconds until the LED lights flash, signaling it’s ready to pair.
- Non-flashing LEDs on power-up mean the headphones are connected to another device.
- Press and hold the power button for 5 seconds until LEDs flash to re-enable pairing mode.
- The Beats app on Android devices assists in setting up the headphones.
Activating Pairing Mode on Beats Solo 3 Headphones
Before you can enjoy the seamless audio connectivity of your Beats Solo 3, they must be in pairing mode. The process is straightforward and easy to follow. Begin by powering on your headphones. This is done by pressing the power button located just above the LED battery indicators on the right earcup. A brief press, for about one second, is sufficient to turn them on. You’ll know they’re powered up when the LED lights illuminate.
To transition your headphones into pairing mode, press and hold the power button for approximately 5 seconds. Watch for the LED lights to start blinking. This flashing signal is your confirmation that the Beats Solo 3 are ready to pair, eagerly awaiting connection with your device.
With your headphones in pairing mode, move on to the next steps in this guide. By following the instructions provided for pairing your Beats Solo 3 with different devices like Android, iPhone, Windows, or Macs, you can easily connect your headphones to your chosen device and dive into your audio content with exceptional sound quality.
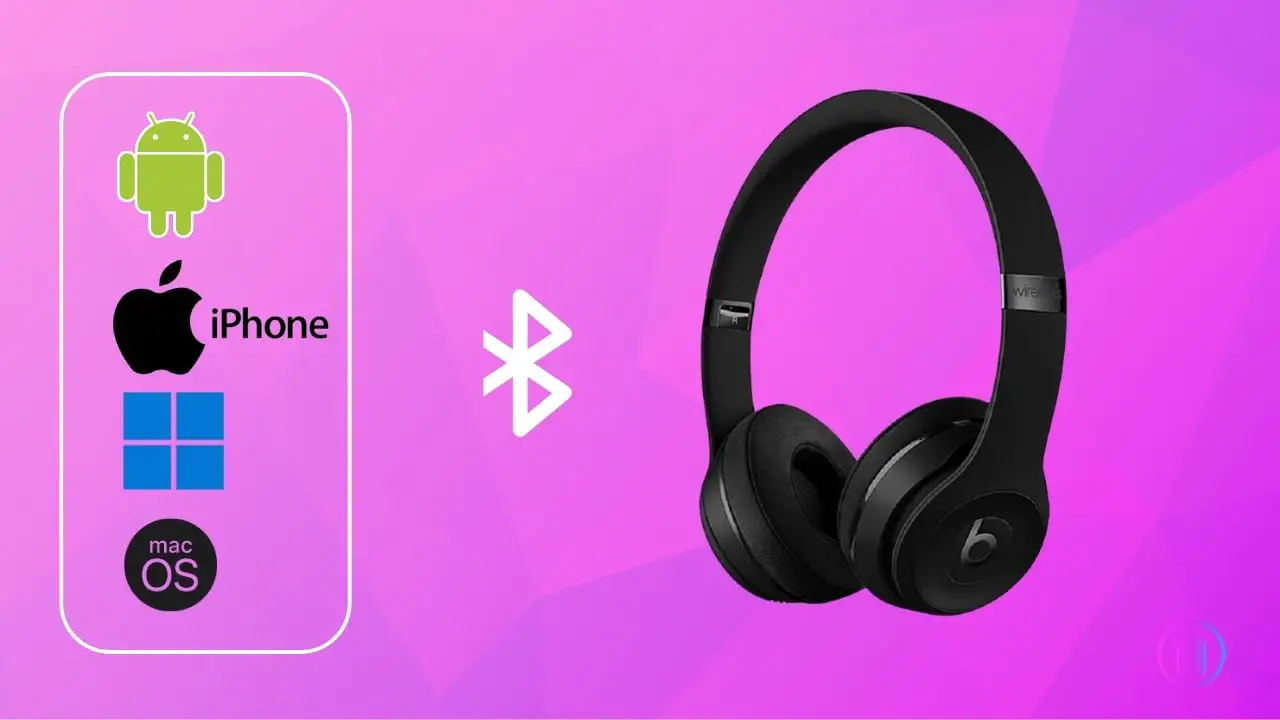
How to Pair Beats Solo 3 with Different Devices?
Now that your Beats Solo headphones are in pairing mode, let’s explore how to pair them with various devices like Android, iPhone, PCs, and Macos.
1. Connecting Beats Solo 3 with Android or Tablet:
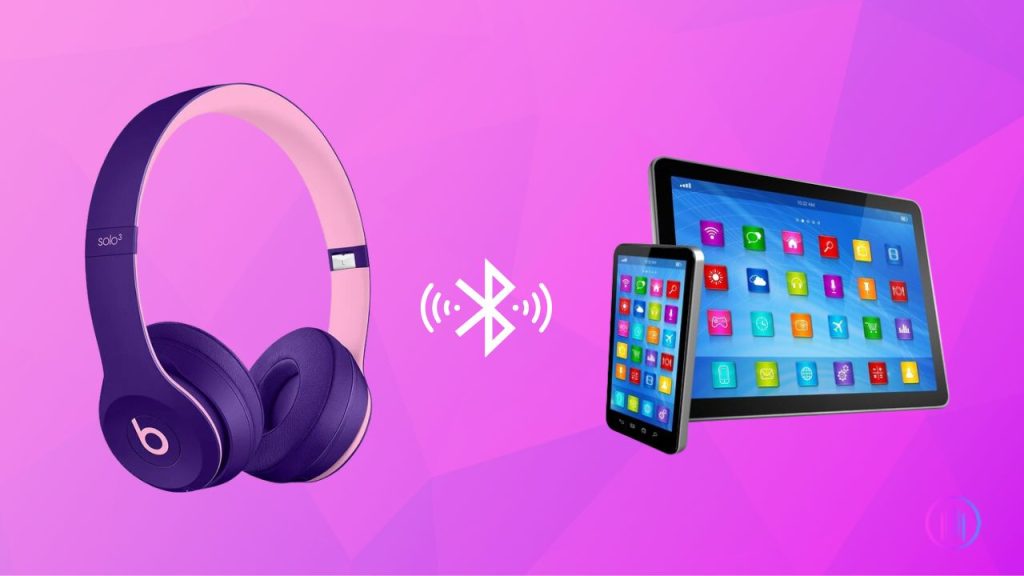
How to Pair Beats Solo 3 Headphones with an Android Phone or Tablet? Elevate your listening experience by connecting your Beats Solo 3 headphones with an Android phone or tablet. Here’s an easy to follow, step-by-step guide to facilitate the process:
- Go to your Android device’s or Tablet settings.
- Locate and select the Bluetooth option.
- Toggle Bluetooth on to activate it.
- Look for the “Available Devices” section in the Bluetooth settings on your Android or Tablet.
- Your Beats Solo 3 should appear in the list. Tap on their name to initiate the connection.
- If your headphones don’t show up in the list, use the “Scan” option in the Bluetooth settings to refresh the list of available devices.
- Follow any on screen instructions that may appear to complete the pairing process.
By following these steps, you can easily connect your Beats Solo 3 headphones to your Android or Tablet and enjoy high quality wireless audio, whether you’re listening to music, podcasts, or making calls.
2. Connecting Beats Solo 3 with iPhone or iPads:
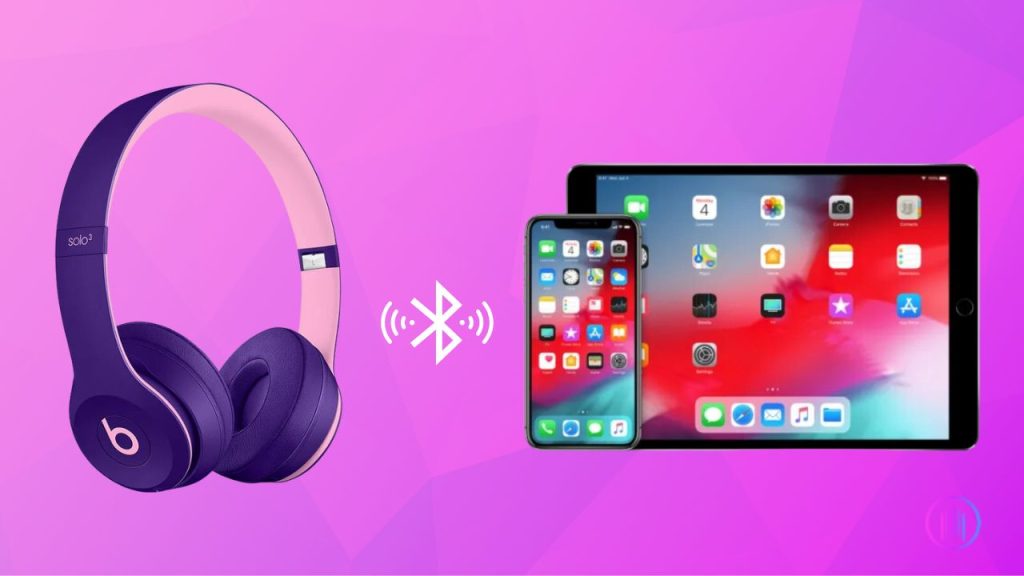
How to Pair Beats Solo 3 Headphones with an iPhone or iPad? Enhancing your audio experience is seamless when you connect your Beats Solo 3 headphones with an iPhone or iPad. Follow this straightforward, step-by-step guide for a hassle free setup:
- For iOS 10 or Later:
- Simply unlock your iPhone or iPad. A pop-up should appear on the screen displaying the name of your Beats Solo 3 and an option to connect.
- Tap ‘Connect’ on this pop-up and wait momentarily as your device establishes a connection with the headphones.
- Upon a successful connection, the pop-up will update to show the current battery level of your headphones. You can then select ‘Done’ to finalize the process.
- For Earlier iOS Versions or Absent Pop-Up:
- If your device runs an earlier version of iOS or the pop-up doesn’t appear, begin by unlocking your iPhone or iPad and navigating to the ‘Settings’ app.
- Proceed to the ‘Bluetooth’ section and ensure the Bluetooth feature is activated. The toggle should appear highlighted or green.
- Your device will start scanning for available Bluetooth devices. Look for ‘Beats Solo3’ listed under ‘Other Devices.’
- Simply tap on ‘Beats Solo3,’ and your iPhone or iPad will automatically connect to the headphones.
3. Connecting Beats Solo 3 with Windows PC or Laptop:

How to Pair Beats Solo 3 Headphones with an Windows PC or Laptop?Pairing Beats Solo 3 headphones with your Windows PC or laptop is a straightforward process that can greatly enhance your listening experience. Whether it’s for music, videos, or online meetings, follow these simple steps to connect your headphones seamlessly:
- Start by clicking on the Start menu at the bottom left corner of your screen. Then, go to ‘Settings’ by clicking on the gear icon. In the Settings window, choose ‘Devices’ and then click on ‘Bluetooth & other devices’ on the left side menu. Make sure the Bluetooth toggle is set to ‘On’.
- Click on ‘Add Bluetooth or other device’ at the top of the Bluetooth & other devices page. A new window will pop up; select ‘Bluetooth’ as the kind of device you want to add. Your PC will begin to search for nearby Bluetooth devices.
- Look for ‘Beats Solo3’ in the list of available devices. This is how your Beats Solo 3 headphones should be listed. Click on ‘Beats Solo3’ to connect them to your PC or laptop.
- Once the pairing is successful, your Beats Solo 3 headphones will be connected to your Windows device. You’re now all set to enjoy your favorite audio with the superior sound quality of your Beats headphones.
4. Connecting Beats Solo 3 with macOS:
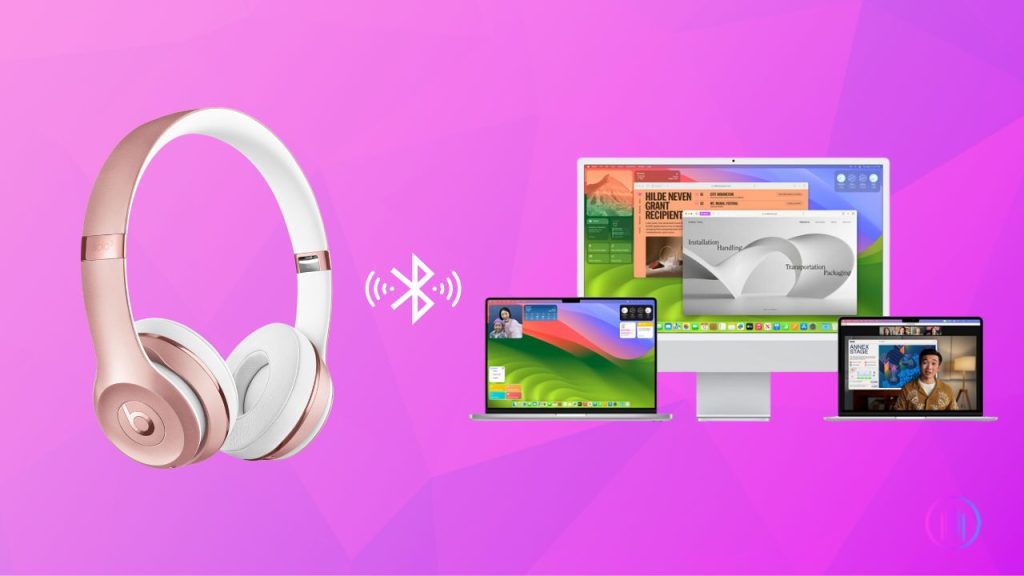
How to Pair Beats Solo 3 Headphones with macOS? Pairing your Beats Solo 3 headphones with a macOS device is a simple process that enhances your audio experience. Whether you’re using the latest macOS Ventura 13 or an earlier version, the steps are straightforward and designed to get you connected quickly.
For users with macOS, the process is as follows:
- Click on the Apple menu at the top left corner of your screen and navigate to System Settings.
- In the System Settings window, select Bluetooth to view available devices.
- Look for ‘Beats Solo3’ in the list of Bluetooth devices. This is the name your Beats Solo 3 headphones should appear under.
- Hover your cursor over ‘Beats Solo3’ to reveal the Connect option. Click on it to establish a connection between your MacBook and the headphones.
Once connected, your Beats Solo 3 will deliver high quality audio wirelessly, making your music, podcasts, and calls more enjoyable.
Troubleshooting Tips for Beats Solo 3 Connection Issues
Having trouble connecting your Beats Solo 3 headphones? Here’s what you can do to fix common issues:
1. If Your Beats Solo 3 Won’t Connect:
- First, ensure your Beats Solo 3 headphones are in pairing mode. Look for the flashing LED light, which signals they’re ready to connect.
- Make sure Bluetooth is enabled on the device you’re trying to pair with. This option is typically found in the device’s settings menu.
- If pairing doesn’t work initially, try restarting both your Beats Solo 3 and the device you’re trying to connect to. This can often clear up any temporary issues.
2. If the Connection is Unstable:
- Check for and remove any physical obstructions or electronic devices that might interfere with the Bluetooth connection.
- If the connection remains unstable, ‘forget’ your Beats Solo 3 in your device’s Bluetooth settings and then pair them again. This refreshes the connection.
3. Check for Software Updates:
- Make sure your Beats Solo 3 headphones and the device they’re connecting to are both updated with the latest software. Software updates can fix issues with connectivity and improve performance. You can easily update your Beats Solo 3 headphones by using the Beats app, available on Play Store and for iPone users its avaliable on Beats, which is a straightforward process. Updating the firmware might solve any pairing issues you’re facing.
4. Resetting Your Beats Solo 3 Headphones:
If you continue to face connection issues, a factory reset may help. Resetting your Beats Solo 3 headphones can solve persistent pairing problems and rejuvenate the system. Follow these simple steps to reset:
- Find the power button on the right earcup and the volume down button on the left earcup, just below the ‘B’ logo.
- Simultaneously press and hold both the volume down and power buttons for about 5 seconds. This is crucial to initiate the reset.
- Continue holding the buttons until the LED lights on your headphones flash, indicating a successful reset.
After resetting, your Beats Solo 3 headphones will be as good as new, ready to pair and deliver excellent audio quality.
Conclusion
The journey to seamlessly connect your Beats Solo 3 headphones to your devices is designed to be straightforward, ensuring you can immerse yourself in high quality sound. By adhering to the outlined steps, your music, podcasts, and calls will come alive in no time. If, however, you find yourself facing challenges with pairing, even after trying the troubleshooting tips, it might be time to seek further assistance. In such cases, I recommend reaching out to Beats customer support. Their expertise can provide you with the necessary guidance to resolve any lingering issues, ensuring your headphones deliver the best possible audio experience. Wishing you endless hours of blissful listening!

I’m Shaun Conroy, an audiophile & founder of HiFi Audios. Holding a Bachelor’s in Sound Engineering, I bring deep expertise in audio devices and offer insights & recommendations to fellow enthusiasts.