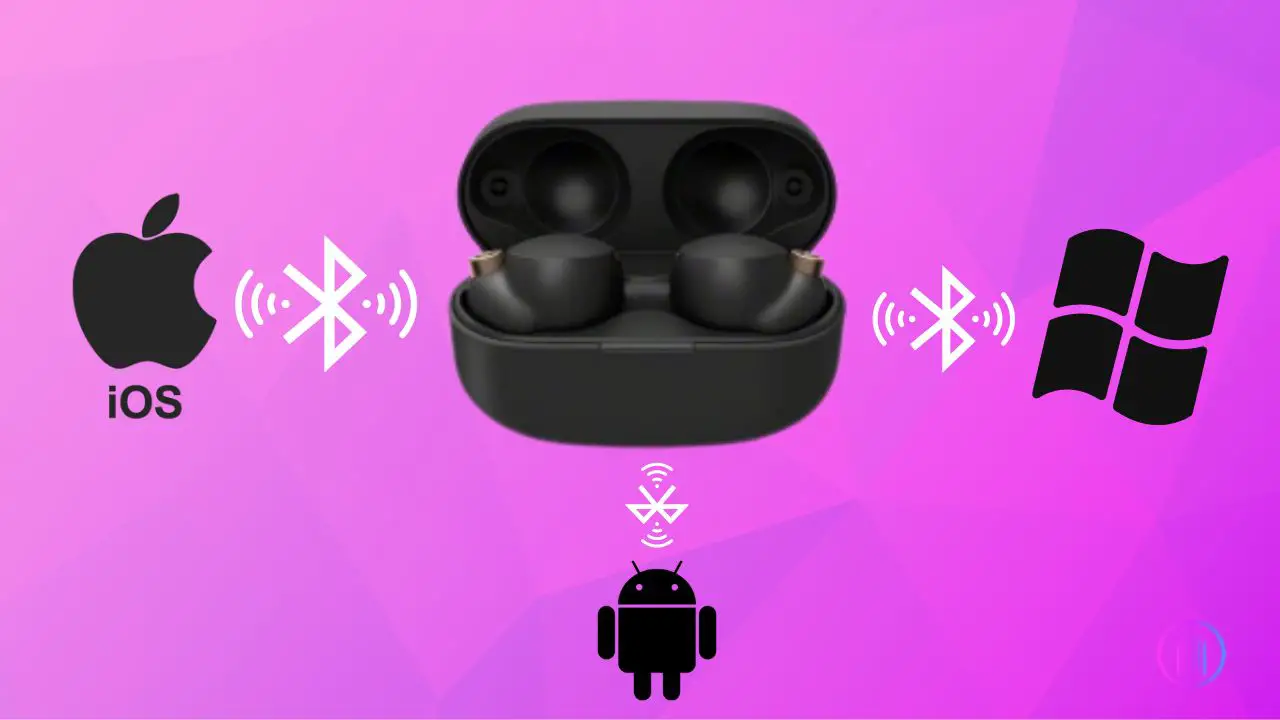
Ever faced the challenge of connecting your Sony WF-1000XM4 earbuds to different devices like an iPhone, Android, PC, or Mac? I know the struggle. That’s why I’ve put together this straightforward guide. I’ll show you step-by-step how to pair your Sony WF-1000XM4 earbuds with these devices. No jargon, no unnecessary details just simple, effective instructions to enhance your listening experience. Join me as I walk you through each step, ensuring you can easily connect your earbuds, whether you’re at home, work, or on the move.
KEY TAKEAWAYS
- Sony WF-1000XM4 earbuds enter pairing mode automatically when first used or can be manually activated by pressing both touch controls for 5 seconds after removing them from the case.
- Activate pairing mode on earbuds, then select ‘WF-1000XM4’ in your Android device’s Bluetooth settings.
- Turn on earbuds’ pairing mode, then choose ‘WF-1000XM4’ in iPhone’s Bluetooth settings to connect.
- After putting earbuds in pairing mode, add ‘WF-1000XM4’ from the Bluetooth settings on your PC.
- Activate pairing mode on earbuds and select ‘WF-1000XM4’ from the Bluetooth menu on your Mac.
- Reset the earbuds if they fail to connect, restoring them to factory settings for a fresh pairing attempt.
Setting Up Sony WF-1000XM4 for Pairing
The first step in enjoying your Sony WF-1000XM4 earbuds is ensuring they are paired with your desired device. This crucial process, known as pairing, allows your earbuds to communicate with your device by exchanging necessary information. Once paired, the earbuds and the device remember each other for quick and automatic connections in the future.
Initial Setup and Pairing Mode
For first-time users, your Sony WF-1000XM4 earbuds make it easy. They automatically enter pairing mode the first time they are removed from the charging case, as they contain no prior Bluetooth connection data. However, if your earbuds have been connected to other devices before, they’ll need a manual setup for pairing:
- Before starting, ensure your earbuds are at least 20% charged for a seamless setup.
- Take the earbuds out of their case.
- Place the earbuds comfortably in your ears.
- Simultaneously press the touch sensors on both earbuds.
- Hold the sensors for about 5 seconds.
- Listen for the voice prompt indicating “Bluetooth Pairing.”
- Once you hear the voice prompt, your earbuds are in pairing mode and ready to be discovered by your device.
1. Pairing Sony WF-1000XM4 with Android:

Connecting your Sony WF-1000XM4 earbuds to an Android device is easy and makes your listening better. By following these simple steps, you can ensure a successful and stable connection.
- Begin by removing your Sony WF-1000XM4 earbuds from the charging case. This is the first step in making them discoverable to your Android device.
- To enable pairing mode, simply place the earbuds in your ears. The earbuds will automatically become discoverable, signaling they are ready to connect.
- On your Android device, tap the gear icon to open the settings menu.
- Go to ‘Device Connection’ and then select ‘Bluetooth’.
- Switch on the Bluetooth functionality. Your device will start searching for available Bluetooth devices nearby.
- Find ‘WF-1000XM4’ in the list of available Bluetooth devices.
- Choose to ‘Pair’ or ‘Connect’ with the earbuds.
- Listen for a voice prompt from the earbuds saying, “Bluetooth Connected,” which indicates a successful pairing.
2. Pairing Sony WF-1000XM4 Earbuds with iPhone:
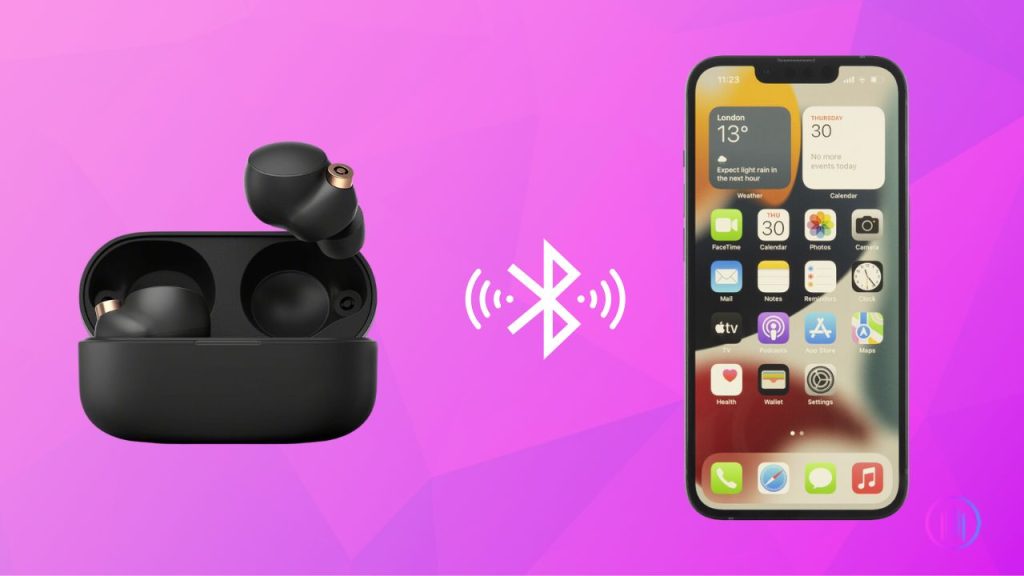
Pairing your Sony WF-1000XM4 earbuds with an iPhone is a straightforward process designed to enhance your audio experience. Here’s how you can quickly set up your earbuds for a seamless connection:
- Start by removing your Sony WF-1000XM4 earbuds from their charging case. This action automatically puts them in discoverable mode.
- Keep your iPhone in close proximity to the earbuds to ensure a smooth pairing process.
- On your iPhone, tap on the gear icon to open the ‘Settings’ app.
- Navigate to the ‘Bluetooth’ settings and toggle the switch to turn on Bluetooth. Your iPhone will now begin looking for nearby Bluetooth devices.
- Look for ‘WF-1000XM4’ in the list of available devices. Tap on it to initiate the pairing process.
- In some cases, you might be asked for a passkey. Simply enter ‘0000’ to proceed.
- Once the connection is successful, you will hear a voice prompt from the earbuds stating, “Bluetooth Connected.”
3. Pairing Sony WF-1000XM4 Earbuds with a Windows PC:
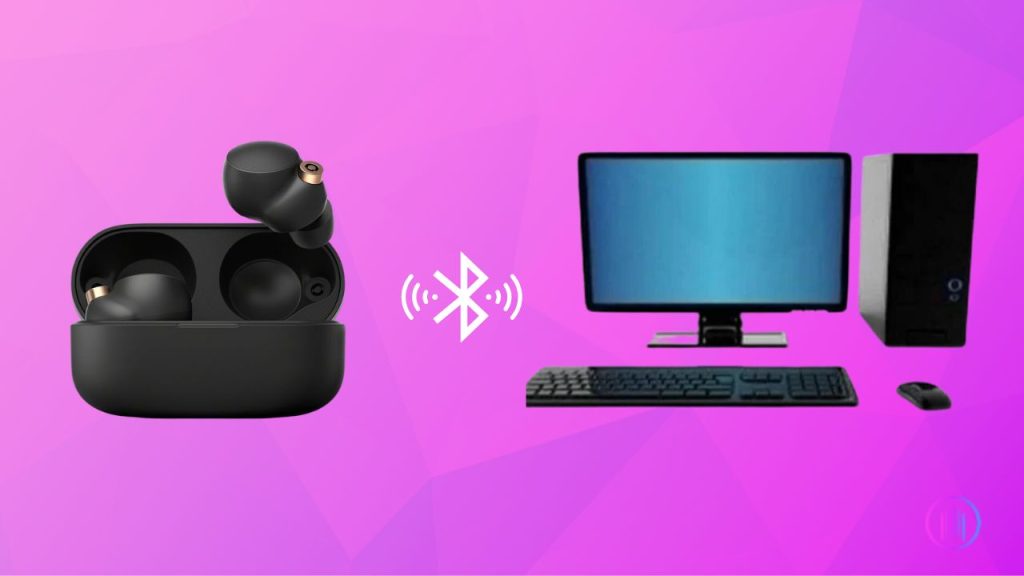
To enhance your PC audio experience with Sony WF-1000XM4 earbuds, it’s essential first to ensure your computer is equipped with Bluetooth capability. Some PCs might not have Bluetooth built-in, and in such cases, an external Bluetooth adapter can be used. Once you’ve confirmed Bluetooth compatibility, follow these steps for a smooth pairing process:
- Before starting, ensure your Windows PC has a Bluetooth module. If it doesn’t, you may need an external Bluetooth adapter.
- Remove the WF-1000XM4 earbuds from their charging case.
- Keep them close to your PC for better connectivity.
- Make the earbuds discoverable by activating the pairing mode.
- Right-click the Start button and go to Settings.
- Navigate to ‘Bluetooth & other devices.’
- Turn on Bluetooth by toggling the switch.
- Select ‘Add Bluetooth or other device’ and then choose Bluetooth.
- Your PC will now search for available Bluetooth devices.
- Select ‘WF-1000XM4’ from the list of devices.
- Click ‘Pair.’ If prompted for a password, use ‘0000.’
- Once successfully paired, you will hear a voice prompt from the earbuds saying, “Bluetooth Connected.”
With these steps, your Sony WF-1000XM4 earbuds will be connected to your Windows PC, offering high-quality sound for all your multimedia needs.
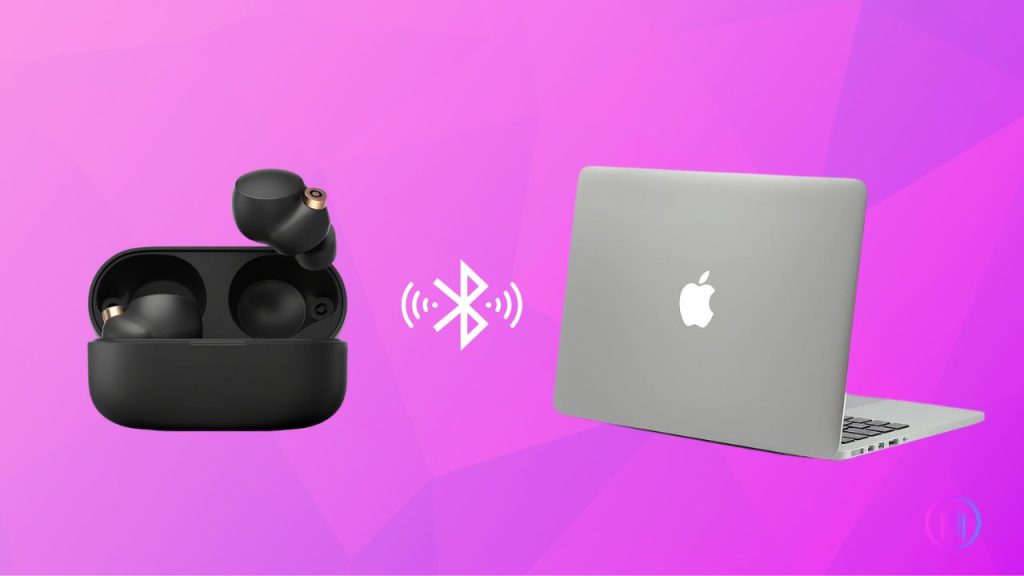
4. Pairing Sony WF-1000XM4 Earbuds with a Mac:
Pairing your Sony WF-1000XM4 earbuds with a Mac is a straightforward process, designed for a hassle-free experience. Follow these steps to ensure a smooth and quick connection:
- Remove your Sony earbuds from their charging case.
- Ensure they are close to your Mac for better connectivity.
- Place the earbuds in your ears to put them in pairing mode, making them discoverable to your Mac.
- Click the Apple logo located at the top corner of your screen.
- Navigate to ‘System Preferences’.
- Select ‘Bluetooth’ and turn it on if it’s not already active.
- Your Mac will start searching for nearby Bluetooth devices.
- From the list of devices, select ‘WF-1000XM4’.
- Click ‘Connect’. If prompted for a passkey, enter ‘0000’.
- You will hear a voice prompt from the earbuds confirming, “Bluetooth Connected.”
- Return to ‘System Preferences’.
- Go to ‘Sound’, then click on ‘Output’.
- Choose your Sony WF-1000XM4 as the default audio output device.
Once these steps are completed, the status will change to ‘Connected’, indicating a successful pairing. Enjoy your favorite audio seamlessly with your Sony WF-1000XM4 earbuds and Mac!
Troubleshooting Sony WF-1000XM4 Pairing Issues
Experiencing issues while pairing your Sony WF-1000XM4 earbuds can be frustrating, but often these problems have simple solutions. Whether you’re pairing with a Mac or encountering connectivity issues, these steps will guide you towards a seamless audio experience.
- A low battery can impede pairing. Make sure your earbuds are charged sufficiently.
- If you’re facing persistent pairing challenges, try resetting your earbuds. This can often resolve minor glitches.
- Keep your earbuds close to the device you’re trying to pair them with to ensure a strong Bluetooth connection.
- Regularly update your earbuds and device firmware to enhance compatibility and performance.
Pairing with a Mac:
- Remove your earbuds from the charging case and place them near your Mac.
- Put the earbuds in pairing mode so your Mac can detect them.
- Connect on Mac:
- Click the Apple symbol at the top right, then select System Preferences.
- Open Bluetooth settings and turn it on if it’s off.
- Wait for your Mac to find ‘WF-1000XM4’ in the list of Bluetooth devices and select it.
- Click ‘Connect’ and enter ‘0000’ if prompted for a passkey.
- Finalizing the Setup:
- Once connected, you’ll hear a voice prompt from the earbuds confirming the connection.
- Navigate back to System Preferences, select ‘Sound’, then ‘Output’.
- Choose Sony WF-1000XM4 as the default audio output.
Addressing Common Pairing Issues:
If your Sony WF-1000XM4 earbuds still face pairing issues, consider these additional steps:
- Ensure you’re within the optimal range for Bluetooth connectivity.
- Sometimes, the issue might be as simple as having Bluetooth turned off on your device.
- Clear previous connections that might be causing conflicts.
- If all else fails, a reset can often be the key to resolving complex pairing issues.
Conclusion
The Sony WF-1000XM4 earbuds provide exceptional sound quality and versatile connectivity with a range of devices including iPhones, Androids, PCs, and Macs. This guide has outlined the essential steps for pairing your earbuds with these devices, ensuring a quick and efficient setup. In case of any pairing difficulties, the troubleshooting tips offered can help resolve common issues effectively. Regular updates to your devices and earbuds will maintain optimal performance and enhance your listening experience. Enjoy the high-quality audio and convenience of your Sony WF-1000XM4 earbuds in everyday use.Best wishes for a delightful listening journey with your new earbuds!

I’m Shaun Conroy, an audiophile & founder of HiFi Audios. Holding a Bachelor’s in Sound Engineering, I bring deep expertise in audio devices and offer insights & recommendations to fellow enthusiasts.